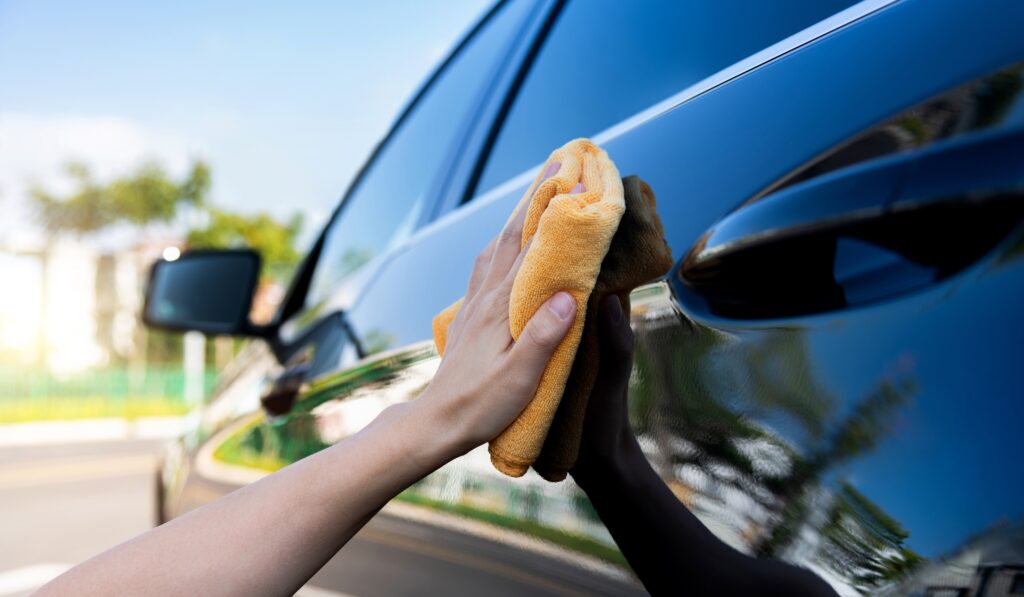
Every car owner knows the feeling: the pride of a perfectly clean, gleaming vehicle, instantly replaced by a sinking heart when you spot that scratch. Whether it’s a minor swirl mark from an automatic car wash, a scuff from a tight parking garage, or a deeper gouge from a rogue key, scratches are the bane of an otherwise flawless finish.
As a detailing professional, you’ve heard the question countless times: “Will car detailing remove scratches?” The short answer is a resounding, qualified “Yes.”
The long answer, which we’ll dive into here, is that it depends entirely on the type and depth of the scratch. This guide will equip you with the knowledge to understand exactly what car detailing can achieve, how to identify different types of paint damage, and the precise techniques used to restore a vehicle to its showroom glory.
And if you’re a detailer who wants to track scratch-removal jobs, document paint conditions, or streamline how you quote correction work, Urable helps companies stay organized as the top car detailing scheduling software.
Understanding Your Car’s Paint Layers: The Key to Scratch Removal
To understand scratch removal, you must first understand the canvas: your vehicle’s paint. Modern automotive paint is not a single layer; it’s a sophisticated system designed for protection, depth, and shine.
It typically consists of three primary layers:
- Primer: This is the foundational layer applied directly to the metal or composite body panel. It creates a smooth surface and helps the subsequent layers adhere. You rarely see this unless the damage is severe.
- Base Coat (Color Coat): This layer provides the actual color of your car. The depth and vibrancy of your paint are determined here.
- Clear Coat: This is the most crucial layer for scratch removal. It is a hard, transparent, urethane-based finish that protects the color coat from UV rays, environmental contaminants, and, most importantly, light scratches. This layer is what you see, touch, and polish.
The Detailing Promise
A professional detailer’s primary goal in scratch removal is to address defects within the clear coat. As long as the scratch has not fully penetrated this clear coat and reached the base coat, it is usually repairable through detailing.
Scratch Identification: Not All Scratches Are Created Equal
The success of a detailing job hinges on accurately identifying the type of scratch. Here are the three main categories:
1. Light Scratches (Swirls & Marring)
- What they look like: Extremely fine lines, often visible only under direct sunlight (known as the “spiderweb” effect) or bright LED lighting. They are caused by improper washing techniques, dry-wiping dust, or automatic car washes.
- Where they are: Exclusively within the top layer of the clear coat.
- The Detailing Solution: Paint Correction (Polishing). These are the easiest to remove. A one-step polishing process using a fine abrasive compound can cut down the minuscule peaks of the scratch, level the clear coat, and restore a mirror finish.
2. Medium Scratches (Clear Coat Scuffs)
- What they look like: Noticeable scratches that catch the light but do not penetrate to the color layer. They are typically caused by fingernails near door handles, minor brush-offs with objects, or road debris.
- Where they are: Deep into the clear coat, but not through it.
- The Detailing Solution: Compounding and Multi-Stage Correction. This requires a more aggressive approach. Detailing specialists use a machine buffer with a heavier cutting compound to remove a controlled amount of the clear coat, followed by a lighter polishing compound to refine the finish and maximize gloss.
3. Deep Scratches (Clear Coat Penetrated)
- What they look like: These are scratches where you can see a different color beneath the clear coat—usually the base coat (color) or, worse, the primer (gray/white) or the body panel itself (black). You can usually feel a ridge with your fingernail.
- Where they are: Through the clear coat and potentially through the color coat.
- The Detailing Reality: Detailing alone cannot remove these. Once the color coat is damaged, the defect cannot be polished away because you would remove all surrounding clear coat down to the base coat, leaving a large, unsightly patch of color without protection. The solution here transitions from detailing to paint repair (touch-up paint) or a full body shop repair. A detailer can significantly minimize the appearance of these scratches using professional touch-up techniques, making them far less noticeable, but the damage remains.
The Fingernail Test: A classic test professionals use. Gently run your fingernail across the scratch. If your nail “catches” on the groove, the scratch is likely too deep to be fully removed by compounding and polishing alone.
The Science of Paint Correction: How Detailers Work Their Magic
The process of removing scratches through detailing is technically called paint correction and is a carefully executed, scientific process that goes far beyond a simple wax job.
1. Preparation is Paramount
Before any machine touches the paint, the car must be meticulously washed and decontaminated using specialized products like clay bars or paint decontamination sprays. This removes bonded contaminants (like rail dust and industrial fallout) that could otherwise cause new scratches during the polishing process.
2. Measurement and Assessment
A professional detailer often uses a Paint Thickness Gauge (PTG) to measure the clear coat’s thickness in microns. This is a crucial step that helps the detailer know exactly how much material can be safely removed, preventing “burn-through” where the clear coat is cut too thin.
3. The Correction Phase (Cutting and Compounding)
Using a dual-action (DA) or rotary polisher, the detailer pairs an abrasive compound (a liquid with cutting agents) with a specific pad (foam or microfiber) designed for cutting. This combination works to microscopically shave the paint down to the deepest point of the scratch, effectively leveling the surface. The scratch is not filled; it is removed by making the surrounding area the same depth.
4. The Refinement Phase (Polishing)
After removing the deep defects, the detailer switches to a finer abrasive polish and a less aggressive pad. This phase removes the microscopic haze or “marring” left by the heavier compound, restoring the deep gloss and clarity of the finish.
5. Protection (The Final Step)
The newly corrected, flawless clear coat is now exposed and vulnerable. A final, crucial step is the application of a protective barrier:
- High-Quality Wax or Sealant: Offers temporary protection and gloss (3-6 months).
- Ceramic Coating (The Professional Standard): Offers superior, long-term protection (1-5+ years) that is significantly more resistant to new light scratching, UV damage, and chemical etching.
Why Professional Detailing is Your Only Real Solution
While many consumer products promise “scratch removal,” these are often glazes or fillers that temporarily hide a scratch by bridging the light refraction gap. The scratch reappears after a few washes. Professional detailing, utilizing the techniques described above, offers a permanent removal solution for all clear coat defects.
For more detailing options and service organization, companies can succeed using a CRM software for film wrap businesses. By entrusting your vehicle to a professional detailer you are choosing expertise, experience, and guaranteed results. You are not just getting a clean car; you are getting a permanent restoration of your paint’s original factory finish. Don’t live with the blemishes. Experience the satisfaction of a truly flawless finish.